After reading Ann Small’s inspiring book about fabric manipulation, I decided to try the stitch and slash technique by creating a small heart applique for girls’ dresses.
In this tutorial, I will show you how to create a faux chenille style heart applique suitable for girls’ dresses, tunics, or t-shirts. It’s is size approximately 20 cm by 15 cm (7 7/8 inch by 5 7/8 inch).
How many layers of fabric do I need to make chenille? I recommend at least three. In this tutorial I’ll be using five layers.
To create a heart applique you will need the following:
- fabric rectangles of different colours (I chose 3 colours: dark violet, pink and white.) Make sure you cut them from fabric that has been prepared for sewing.
- heart template (download here)
- washable fabric marker and tracing pad
- or tracing paper and tracing wheel
- or stabiliser and liner
- scissors
- small embroidery scissors
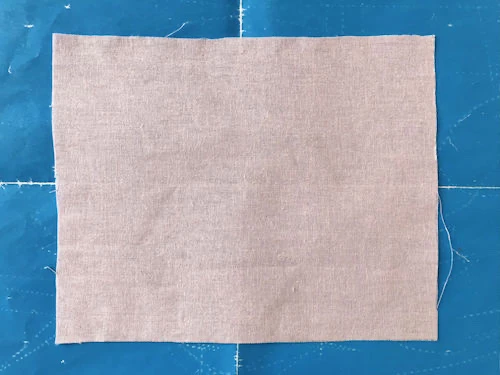
1. Prepare cotton fabrics
Pretreat all fabrics the way you would when working on any other sewing project. Prewash the fabrics and tumble dry, or let them dry and iron.
Cut out a 20 cm by 15 cm (7 7/8 inch by 5 7/8 inch) rectangle from each fabric. In case you want to use a specific fabric twice, cut two rectangles. I used the following colour order for my applique: dark violet at the bottom, then white, pink, and white again followed by pink as the top layer. So, I cut out one dark violet rectangle, two white and two pink ones.

2. Transfer the template
Download the heart template below (.pdf format) and print it out. The A4 paper format is suitable for any home printer. You can transfer the template in several ways (see the instructions below).

Transfer method 1: Transfer paper and tracing wheel
You can transfer the template using a tracing wheel and tracing paper. Put the transfer paper with the coloured side up. Place the fabric right side down on the tracing paper. Place the image with the heart on the top of the fabric and trace the template (see the images below).

Use a tracing paper you are familiar with. In case you are using tracing paper for the first time, try it on a scrap of fabric and make sure the markings can be washed out.
Transfer method 2: Sharpie marker and stabiliser
Another method to transfer the template is to trace the outlines to a stabiliser. You can use a simple, non-iron stabiliser, iron-on, and tear-off stabiliser. For this example, I used an iron-on and tear-off stabiliser. Do the following: put the stabiliser on the top of the template and trace.
I do not recommend using a black sharpie for drawing the outlines as it’s not quite clear which part was already traced and which was not (see the images below).


Transfer method 3: Marker and tracing pad
If you own a tracing pad, you can trace the template using a water-soluble marking pen (see the images below). Test the marker on a scrap of fabric to be sure it can be washed out. Use the following order: tracing pad, heart template, the uppermost layer of fabric right side up. Do not forget to turn the pad on and trace.


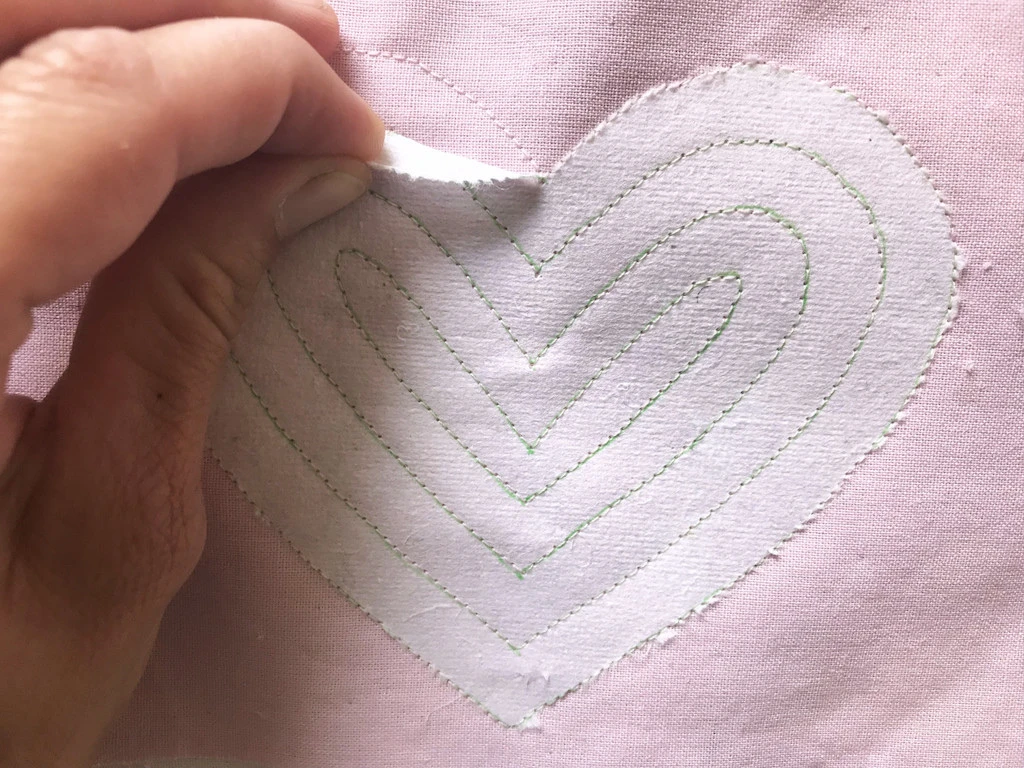
4. Sew the stack together
It does not matter which method you decide to use for the template transfer. Either put the fabric with the traced template on the top of the stack and baste all layers together or iron on the stabiliser with the template on the uppermost layer and baste all layers together.

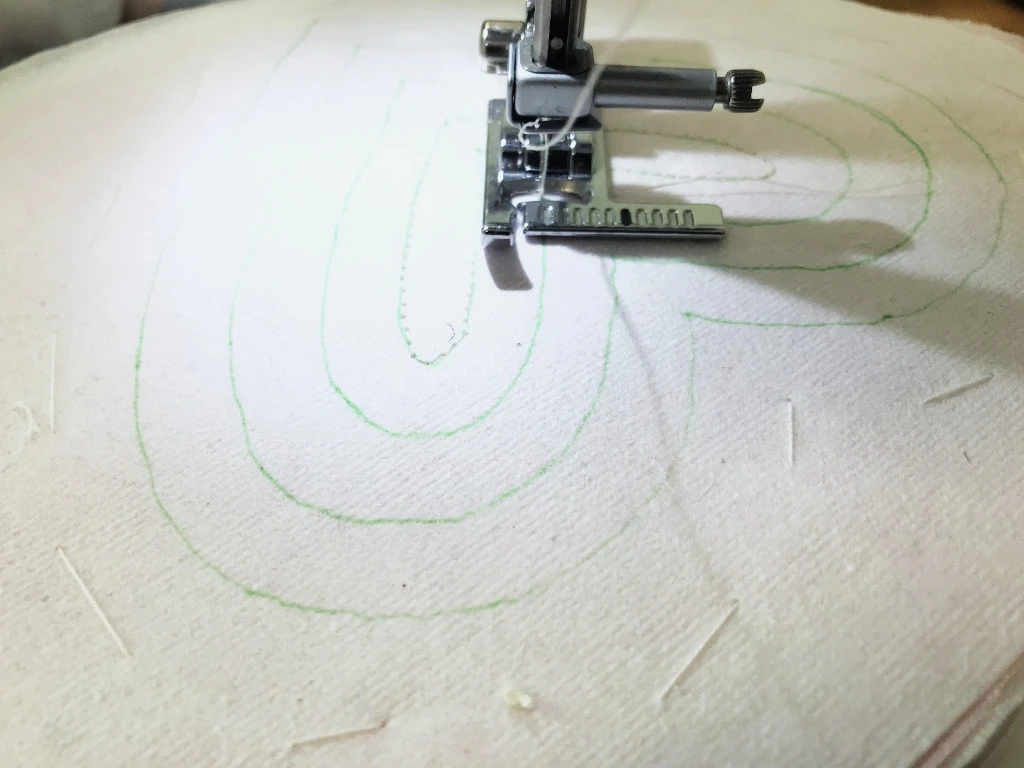
Start sewing at the centre of the template and gradually sew line by line towards the outer outline. I used a thread that matches the colour of the fabric.


In case you work with an iron-on and tear-off stabiliser, tear the stabiliser off. Be careful not to damage the stitching.
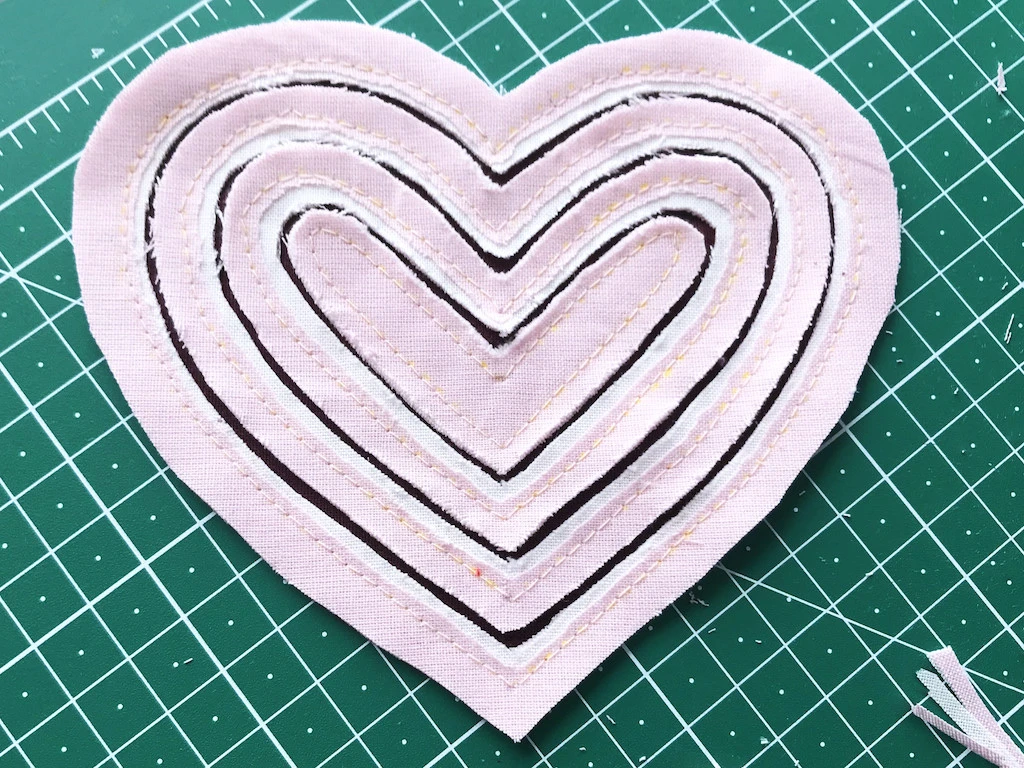
5. Cut in between the stitching
Use small sharp embroidery scissors and cut four upper layers of fabrics in between the sewn lines. Be sure not to cut through the last layer at the bottom of your stack. The bottom layer needs to stay uncut. Cut out thin stripes about 2-3 mm (1/16 – 1/8 inch) wide following the shape of the heart (see the images below).


6. Cut out thin stripes of the uppermost layer
Cut out away thin stripes of the upper layer about 2 mm (1/16 inch) of the applique to reveal the layer just below (see the images below). The applique is almost finished.
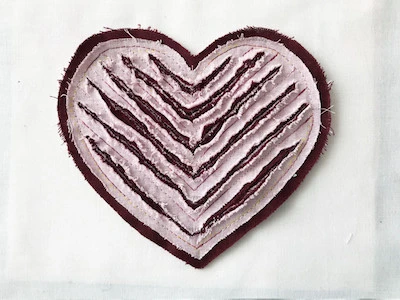
7. Rub the heart applique for a more interesting look
Fold the heart and rub the right sides together. By rubbing the applique the edges will ravel a bit and gain a more interesting look. Some of the parts cut on the straight grain will fray more than parts that were cut on the bias. I would not machine wash this kind of applique using a high spin speed.

7. Experiment with variations
The simplest variation is to use a thread of a contrasting colour or a multicoloured thread. Also, the amount of fabric cut off makes a big difference. Of course, the order of individual cotton fabrics too. Look at the images below.


8. Sew the finished heart applique onto a garment
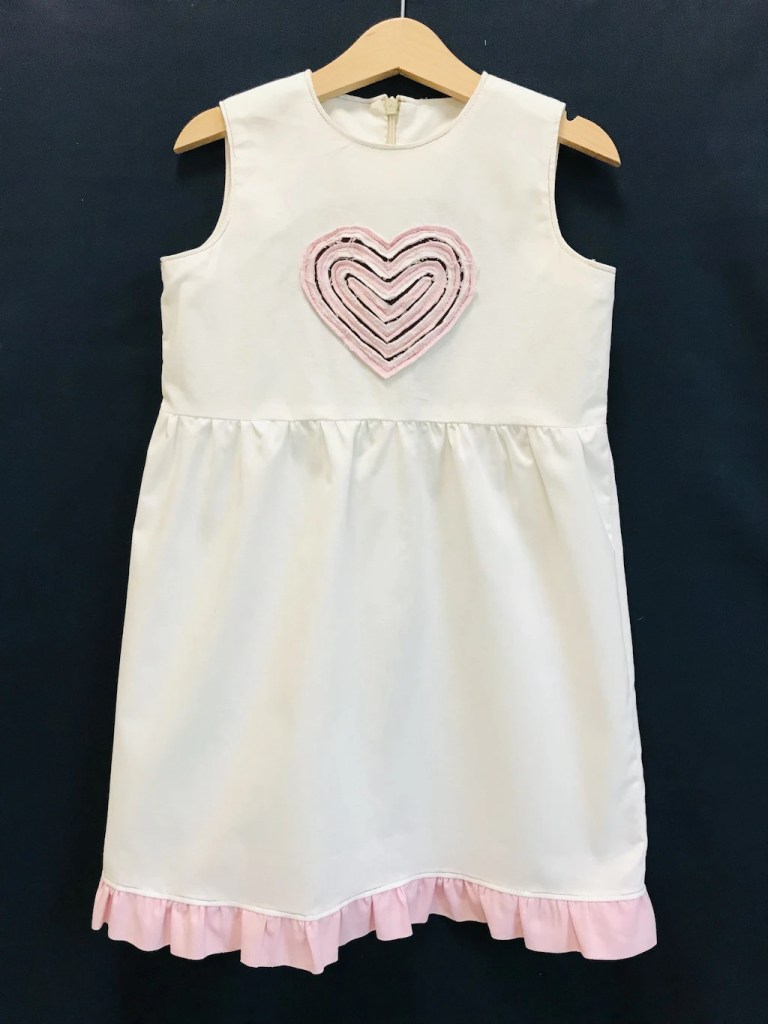
I chose one of the hearts I created and sewn it onto a small girl’s dress. I used a pattern from Pattern Making For Kids’ Clothes as I usually do for all kids’ clothes.
For the ruffle on the bottom, I used the same pink colour as the pink on the heart applique. For topstitching, I decided for the same multicoloured thread as for the sewn outlines of the heart. I have used a concealed zipper at the back following this tutorial for sewing a concealed zipper.
Conclusion: How To Make A Simple Heart Applique?
I hope you enjoyed my tutorial and find it helpful. I also hope it inspired you to create your own designs based on this technique. If you liked this tutorial, please be so kind to share it. Thank you.