A zigzag stitch is a basic stitch built in all sewing machines. It creates diagonal stitches while sewing (see the image below). It is versatile and can be used for various purposes such as finishing raw edges of fabric, decorative purposes, fixing trims, etc.
In this tutorial, you will learn:
- How to finish raw edges of fabric with a zigzag stitch
- How to hem with a zigzag stitch
- How to decorate fabric with a zigzag stitch
- How to attach a trim with a zigzag stitch
- How to finish a sleeve with a zigzag stitch and elastic
- How to finish applique edges with a zigzag stitch
How to finish raw edges of fabric with a zigzag stitch?
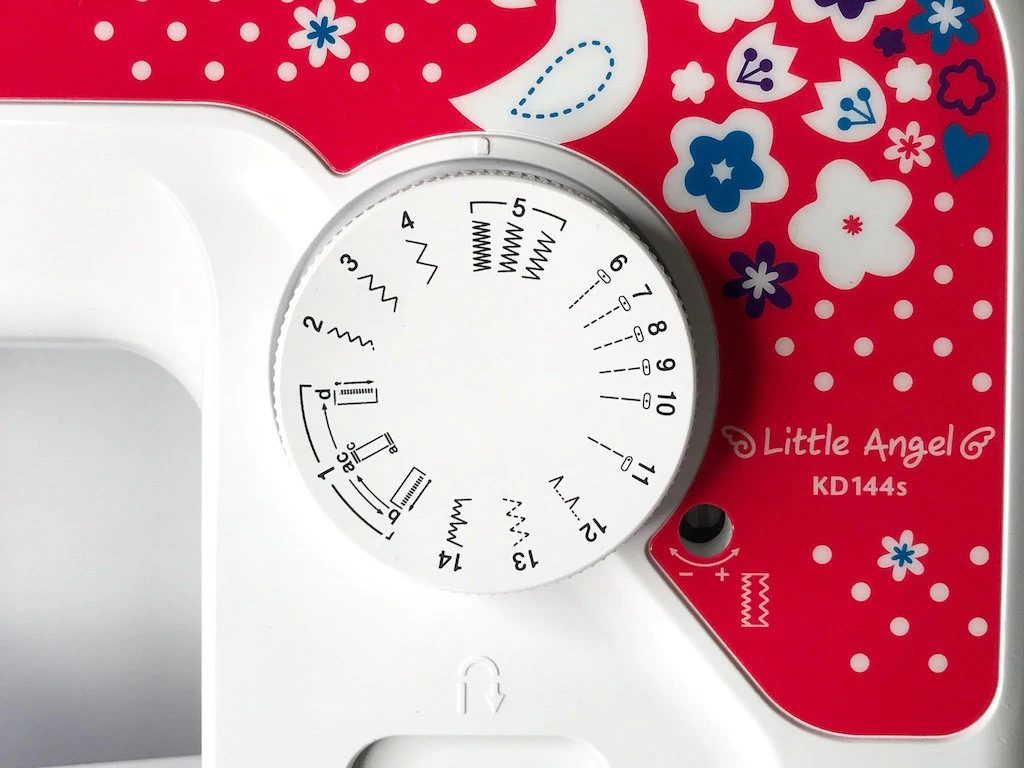
Select a thread that matches the fabric or goes well with the rest of your project and tread your sewing machine. Set the stitch to medium width and length. (Our sewing machine has simple settings as you can see, but they are sufficient for most basic sewing tasks.)

Sew along the raw edge of your piece of fabric.

When you are done with finishing seams using a zigzag stitch, continue sewing your project. Depending on your project press the seams open as in the image below.

How to hem with a zigzag stitch?
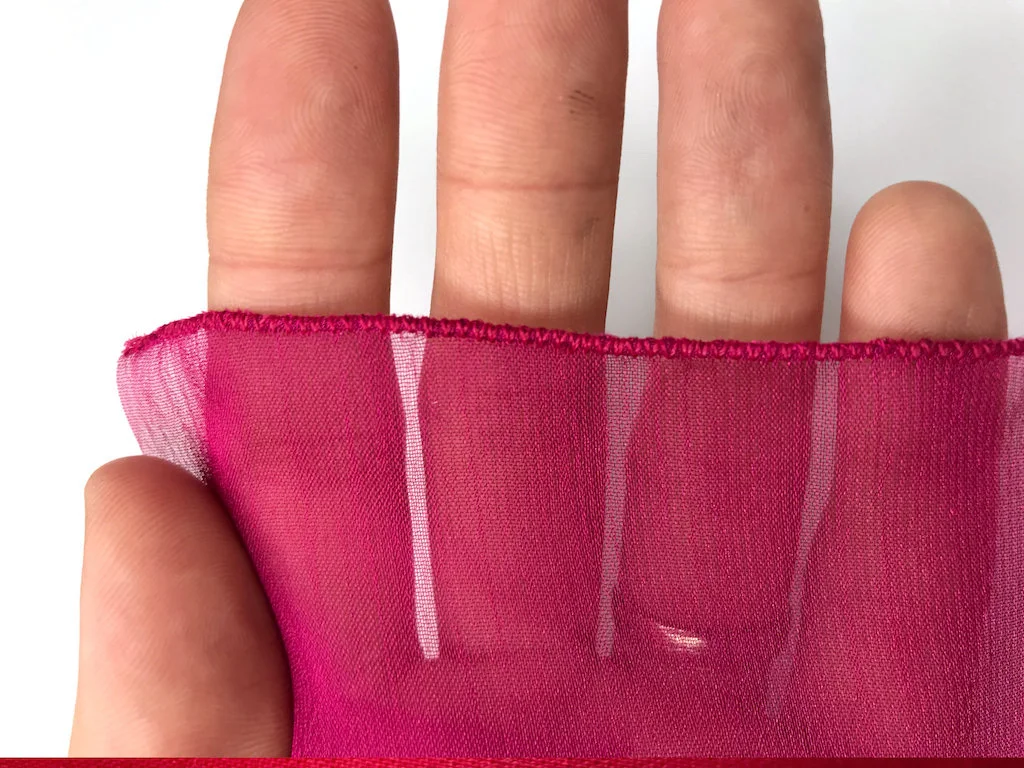
Set a very short stitch length, a broad width and sew along the edge of the fabric.

If you use a wide zig-zag stitch on thin fabrics, it will roll the edge of the fabric and the hem will be quite thin. Sewing a zig-zag stitch along thin and delicate fabrics is a tricky thing and needs some practice.
Be careful when sewing these fabrics. You might need to slightly pull the threads at the start so that your sewing machine does not “chew” the beginning of the fabric (see the image below).

How to decorate with a zigzag stitch?
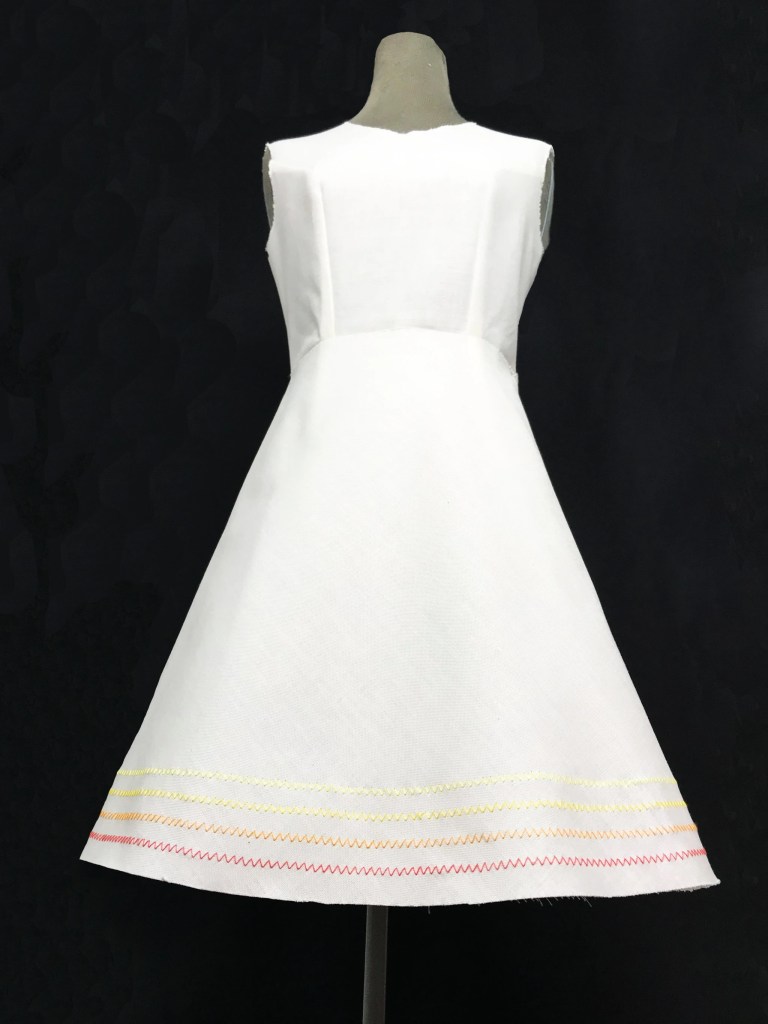
If you like the look of this type of stitch, you can use it to decorate garments.
In the image below, you can see a quarter circle skirt with zig-zag stitches used as decoration (see the image below).

How to attach a trim with a zigzag stitch?
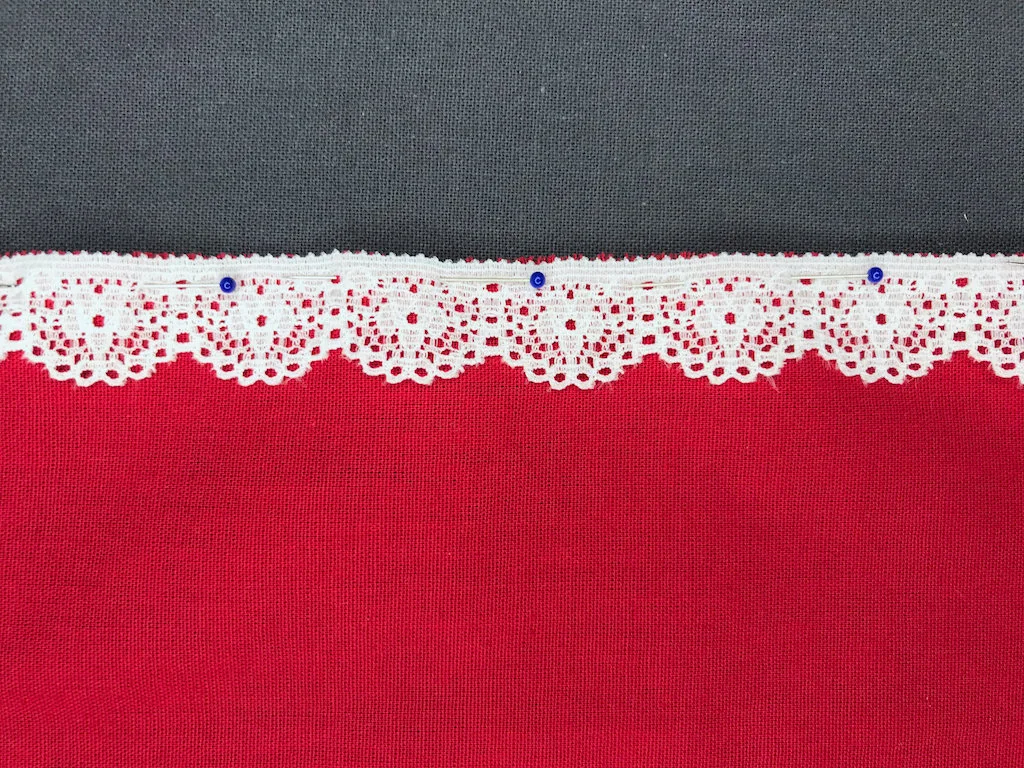
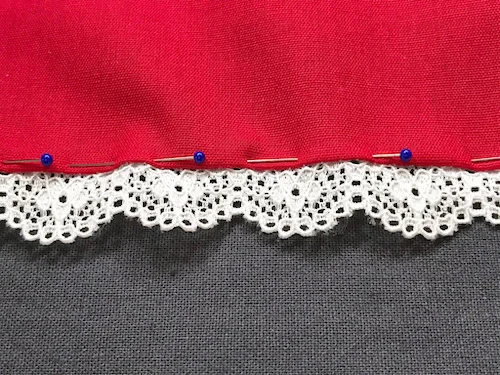
Cut a trim as long as needed and pin it to the fabric aligning the edges of the two. Make sure you are pinning the right side of the trim (provided it has a right side) to the right side of fabric (see the images below).
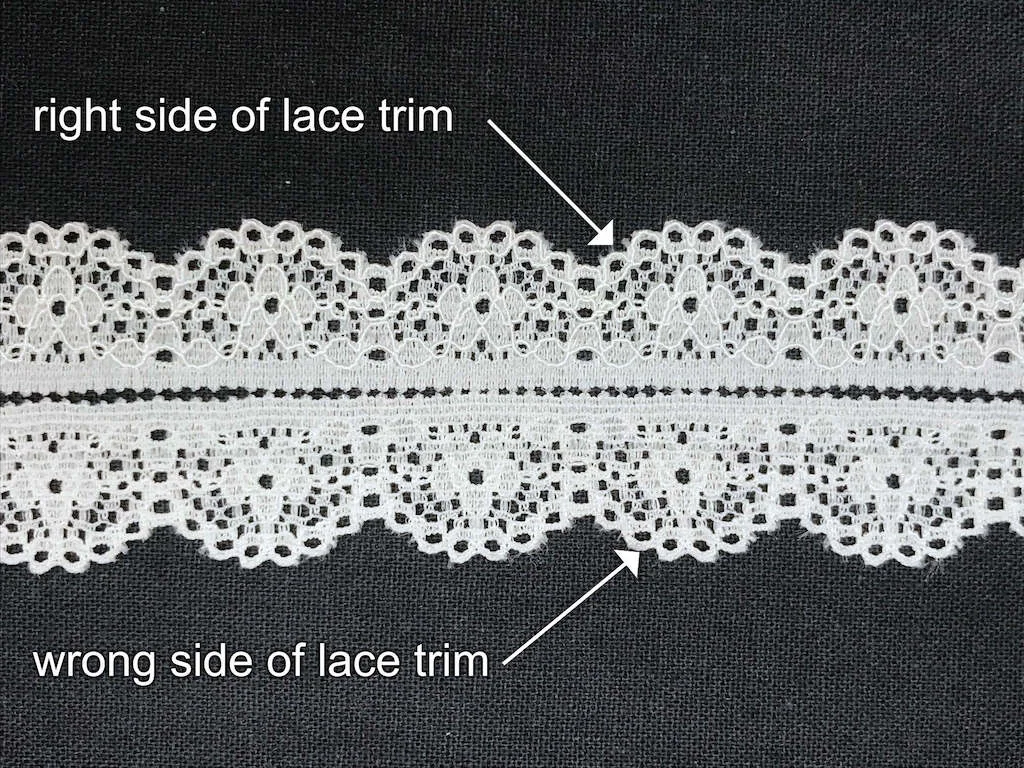
If the trim is elastic, be careful and do not pull it while pinning.
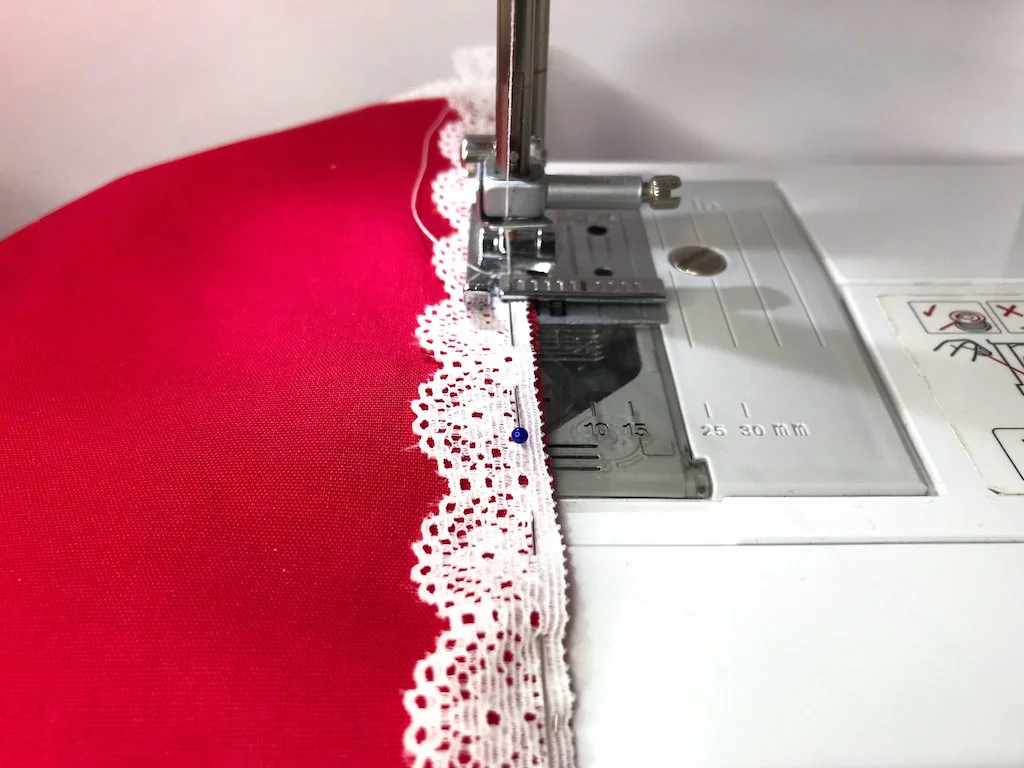
Thread the sewing machine with a thread that matches the colour of the trim. Set the width of the stitch that fits the trim (see the image below).

Sew the trim to the fabric using the zig-zag stitch.
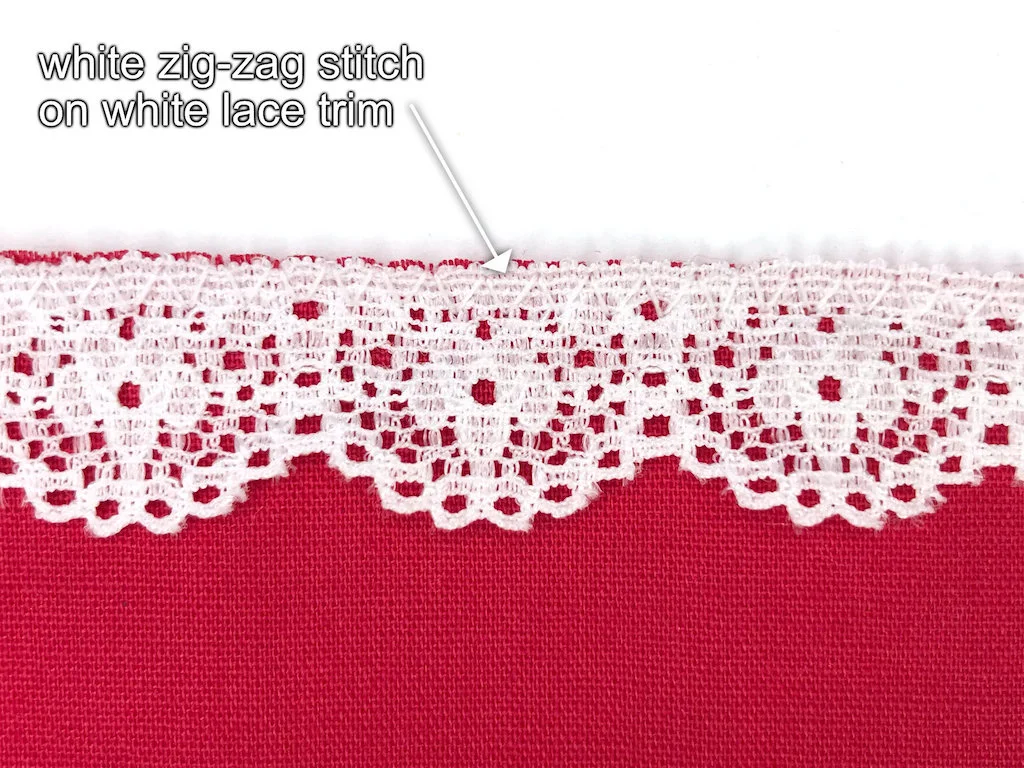
Fold the trim so that you can see its right side (see the image below).

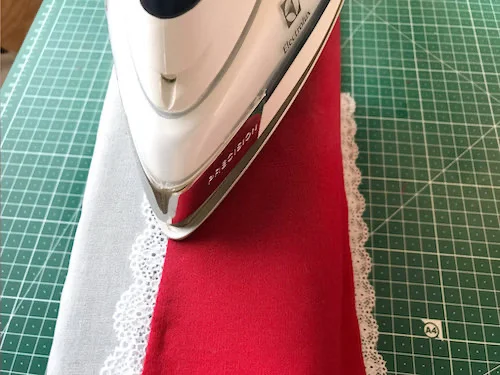
Press the fabric with the trim turned to the right side or pin it to the fabric before sewing (see the images below). If you pinned the fabric so that it stays in place, make sure you not to press them with the fabric. Remove them just before pressing the spot where you have pinned them.
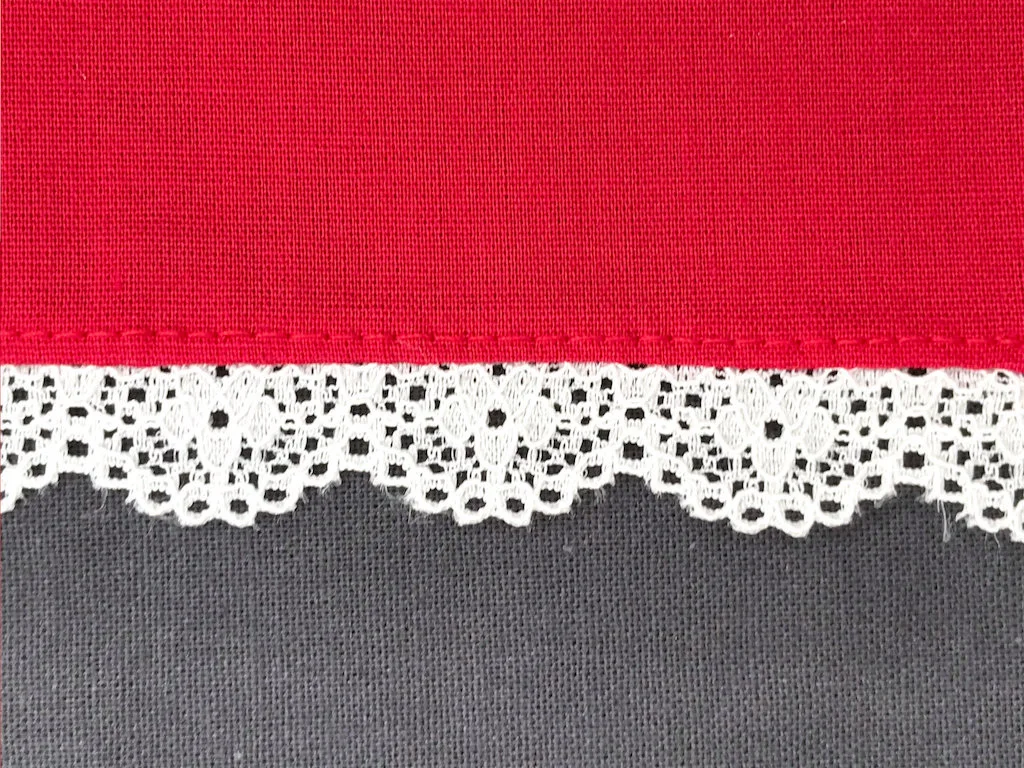
Select a straight stitch and sew along the edge of the fabric. To sew precisely along the edges of the fabric, use a blind stitch presser foot or a standard presser foot.


In the image below, you can see the result.
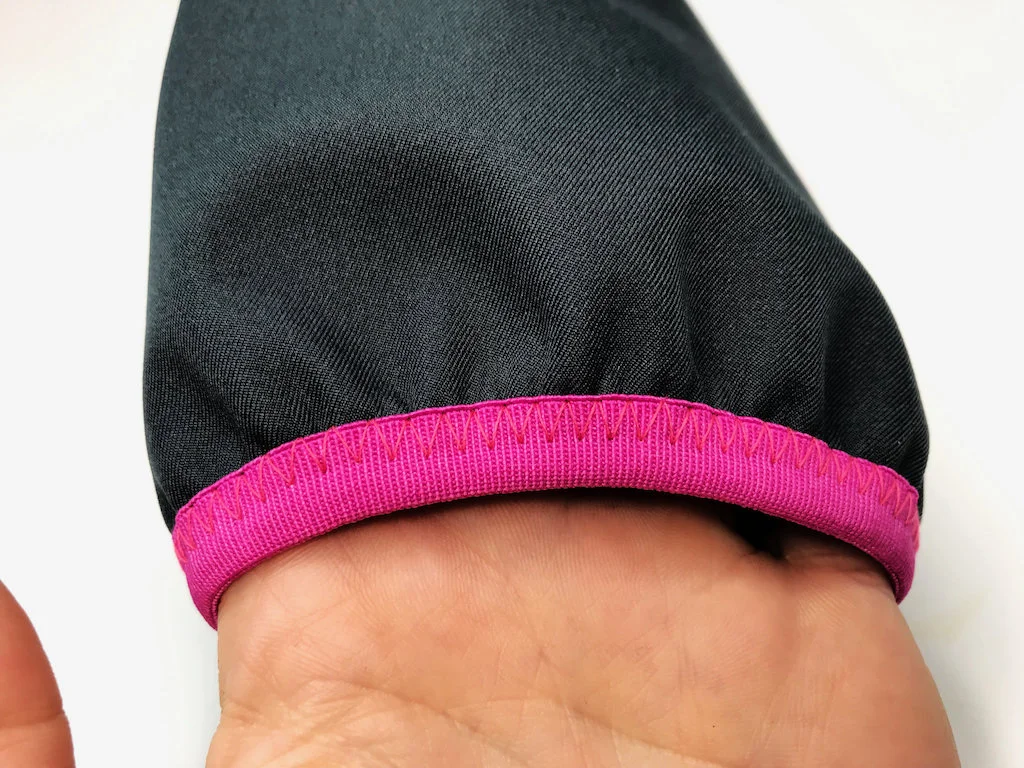
How to finish a sleeve with a zigzag stitch and elastic?
This is a very simple method of finishing edges of sleeves used on sportswear jackets or hoodies. The fold over elastic trim can be sewn either with a straight or a zig-zag stitch like shown in this tutorial. The elastic should be slightly shorter than the edge of the sleeve to create the gathered effect.
The fold-over elastic trim should be about 0,7 * sleeve edge length (0.7 * sleeve edge length).
Select a zig-zag stitch with a wide or medium stitch length and sew. Use a matching or contrasting thread color that goes well with the rest of the outfit (see the images below).

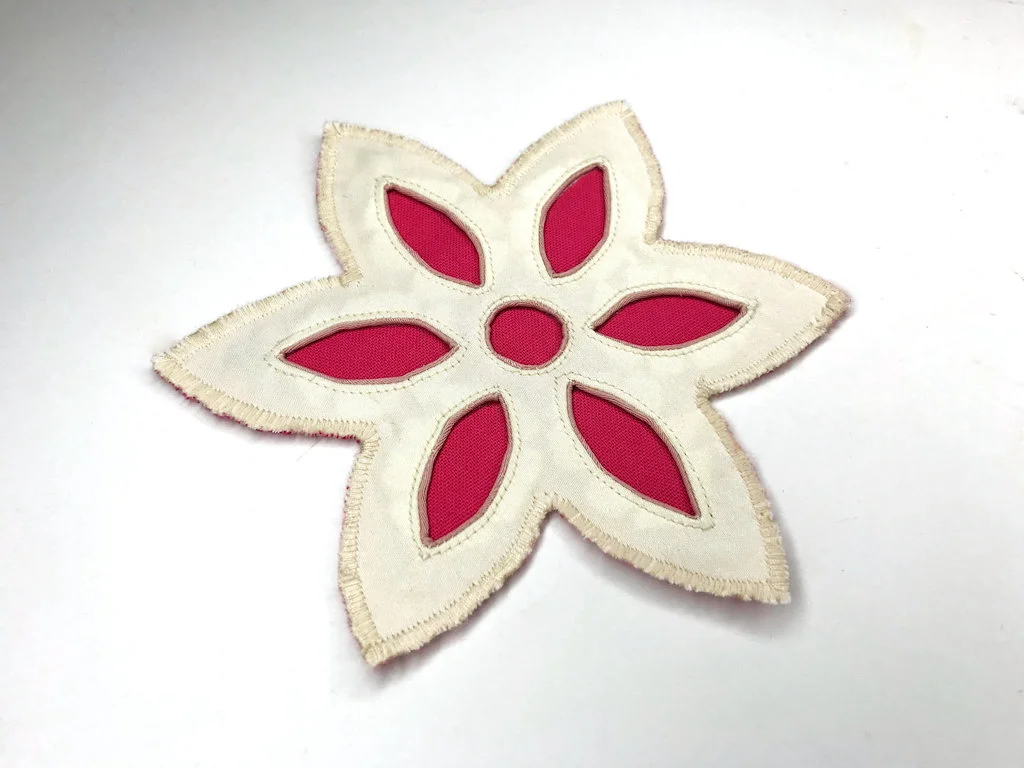
How to finish applique edges with a zigzag stitch?
Select a zig-zag stitch with the shortest stitch length, that will create really dense stitches and sew along the raw edges of your applique (see the images below).