


When drafting patterns, sometimes you have to draw a large circle. This applies mainly to large, circular pattern pieces like circle skirts or flounces. In this blog pos I’m going to describe, how to draw circles without a pair of compasses as to buy one with long arms is almost impossible. I’ll demonstrate this method by drawing a full circle. And you can use it for making circular sectors too.
To draw a circle (or circle sector) you will need the following:
- String that does not stretch
- Ruler or tape measure
- Pin
- Pencil
- Paper (or fabric where you want to draw the circles)
- Marker
1. Take a piece of paper or fabric that is large enough to accommodate the circle or circular sector you are about to draw. Make sure it is smooth and straight as creased or bent paper/fabric will result in inaccuracies.
2. Mark the circle centre on the paper. This may be either on its side or in the centre. It depends on whether you plan to draw a full circle or a circle sector. I’m going to draw a marking in the middle of the paper (see the images below).


3. If you draw the circle on a piece of paper, punch a hole in the centre marking you have just made (see the images below).

4. Stick the pin from the bottom of the small hole you have just made (ie, from the other side of the paper). Its hidden head is now fixing it in a firm position (see the images below).


5. Take the string and 10 cm (4 inch) from its one draw a marking (see the images below).


6. From this marking measure a distance that is 2 x circle radius (see the images below).


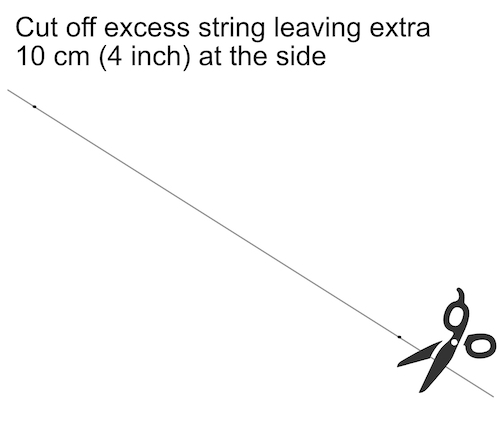
7. About 10 cm (4 inch) away from the second marking, cut off the excess string (see the images below).

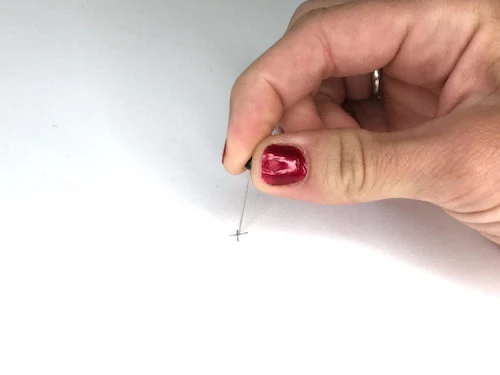
8. Tie a knot connecting the ends of the string exactly at the markings you have made in the previous steps (see the image below). Add some extra knots (about two or three) at the same spot to ensure the string will not untie.


9. Pull the string through the pin (see the images below).


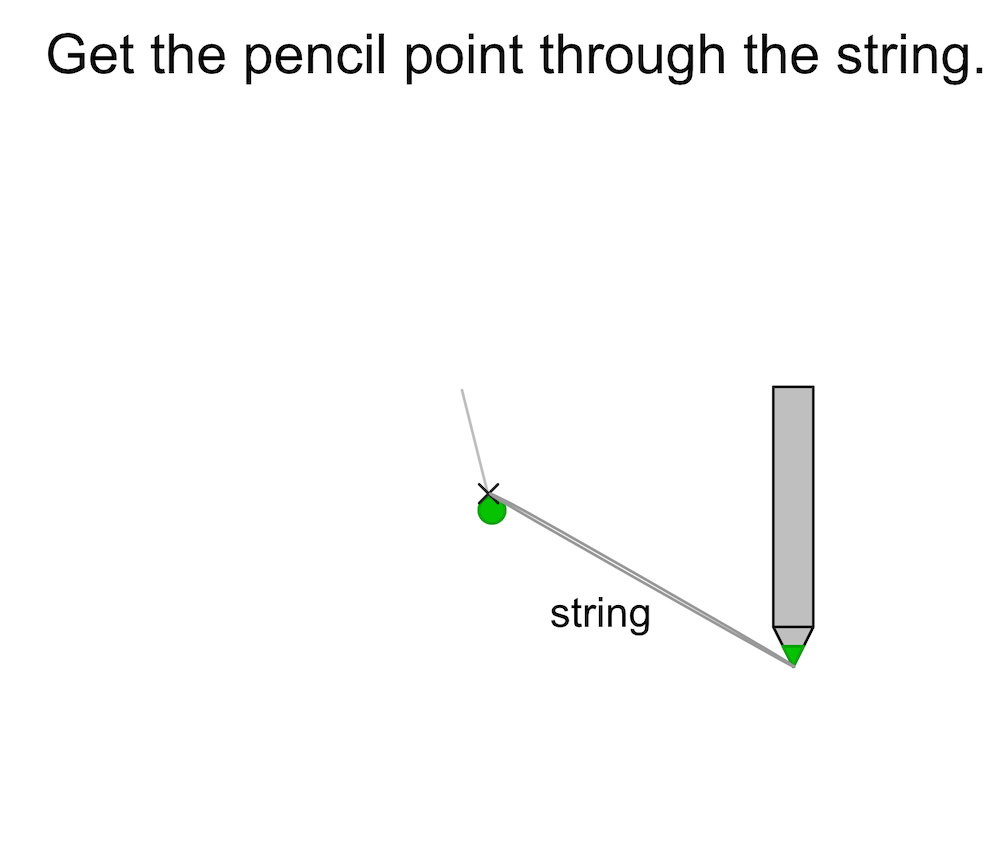
10. Get the pencil point through the other end of the looped string (see the images below).
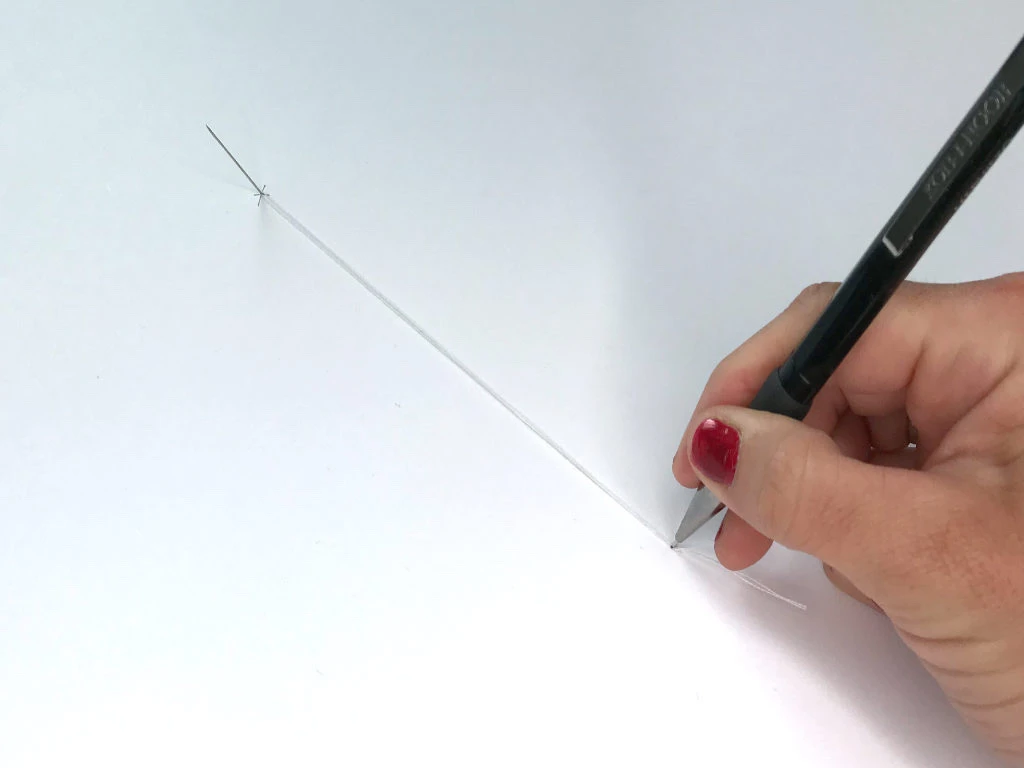
11. Hold the pin with the one hand to make sure the string does not get loose. With the pencil in the other hand, draw a curve all around the centre point (see the image below). Keep the string stretched all the time.
V obrázku Draw a circle.


12. Now the circle is ready and can be cut out and used for your project.

