


Pinning might look easy and straightforward. Yet, there are multiple methods of pinning the fabric and, depending on what you do, one may prove a better choice for some reason.
Are you asking why? Let me touch on this in my today’s contribution.
Pin with classic pins along seam allowance

I use this type of pinning for both straight and curved pattern pieces. Pinning along the fabric has two main advantages:
1. You can pin in the seam allowance only, which is great for delicate fabrics. Even if the pins leave small markings (holes) in the fabric, they will not be visible on the finished garment at all.
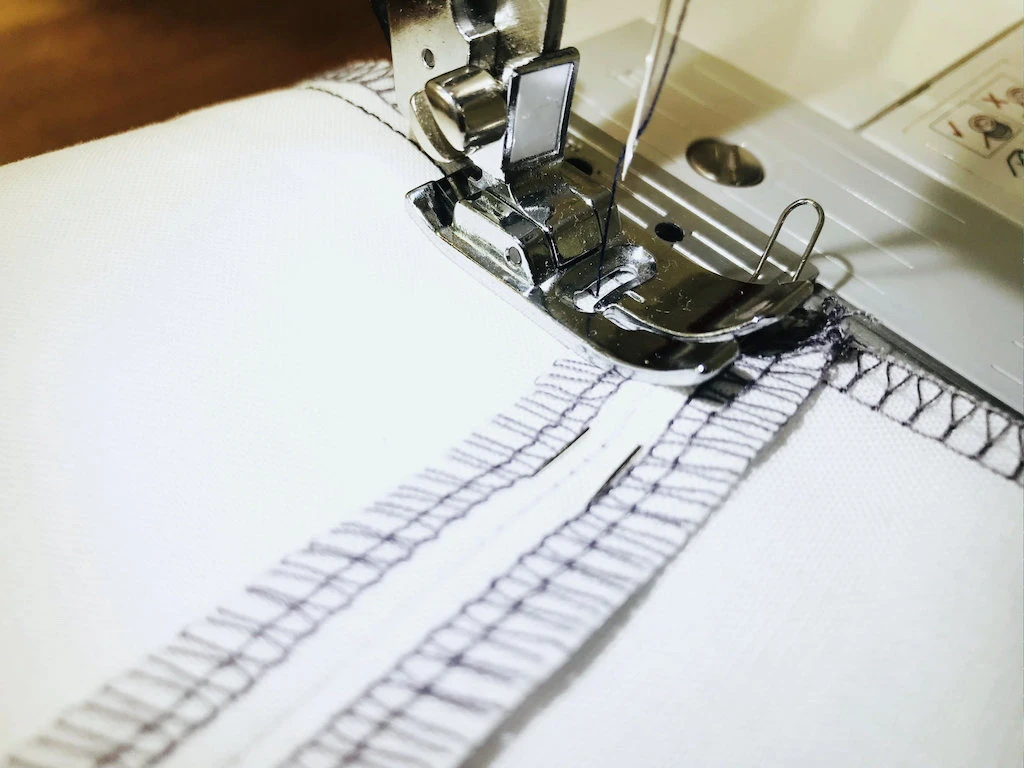
2. While sewing, you can pull the pins out just before the presser foot (see the image below).

Pinning along a seam allowance is suitable for fixing a zipper before sewing it.

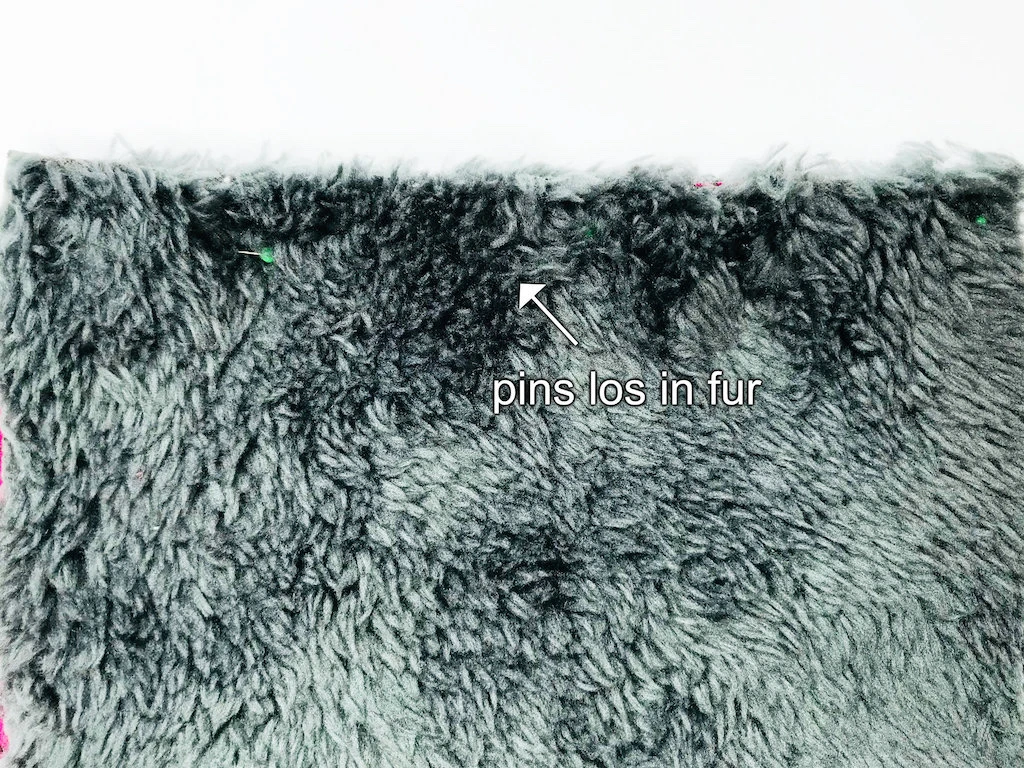
However, do not pin along seam allowances if you work with fabric, which is hairy on the inside. The pin head can easily get lost unnoticed and it is a hard job to pull it out once it is partially stuck under the presser foot of your sewing machine. Even of you lift the presser foot, pulling a pin out is quite tricky. In the image below, there are a few, from which only one can be seen at first sight. The other two are hidden in the fur.
Pin with classic pins perpendicular to seam allowance

This method is suitable for fabrics, which can “repair” little holes left by pins. You might need to use more pins in comparison with pinning along seam allowances.
I use fine thin pins and if they are pinned perpendicular to the fabric and usually sew directly through them. If you worry about damaging the pins or braking the needle of your sewing machine, pull each pin out just before it gets under the presser foot (see the image below).
Do not sew “through” perpendicularly pinned pins if you’re working with stiff fabric like denim. Or if you created gathers that make the fabric stiff.

This method suitable for pinning fabric which is furry from the wrong side or one that has been modified – like pleated fabric (see the image below).
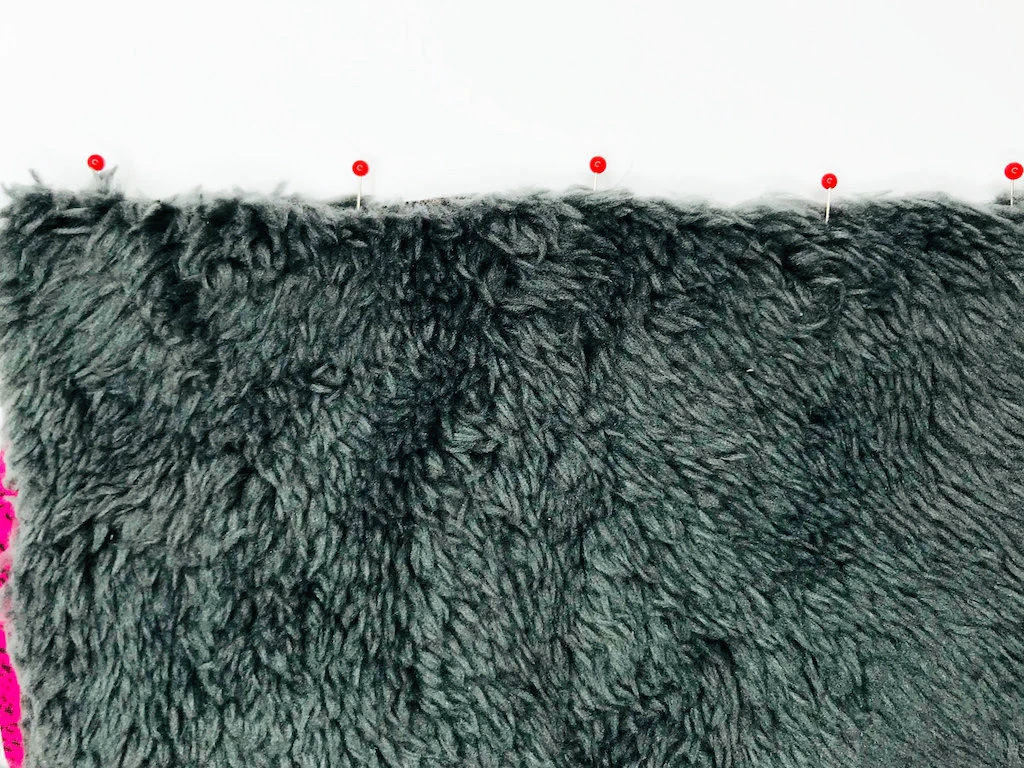
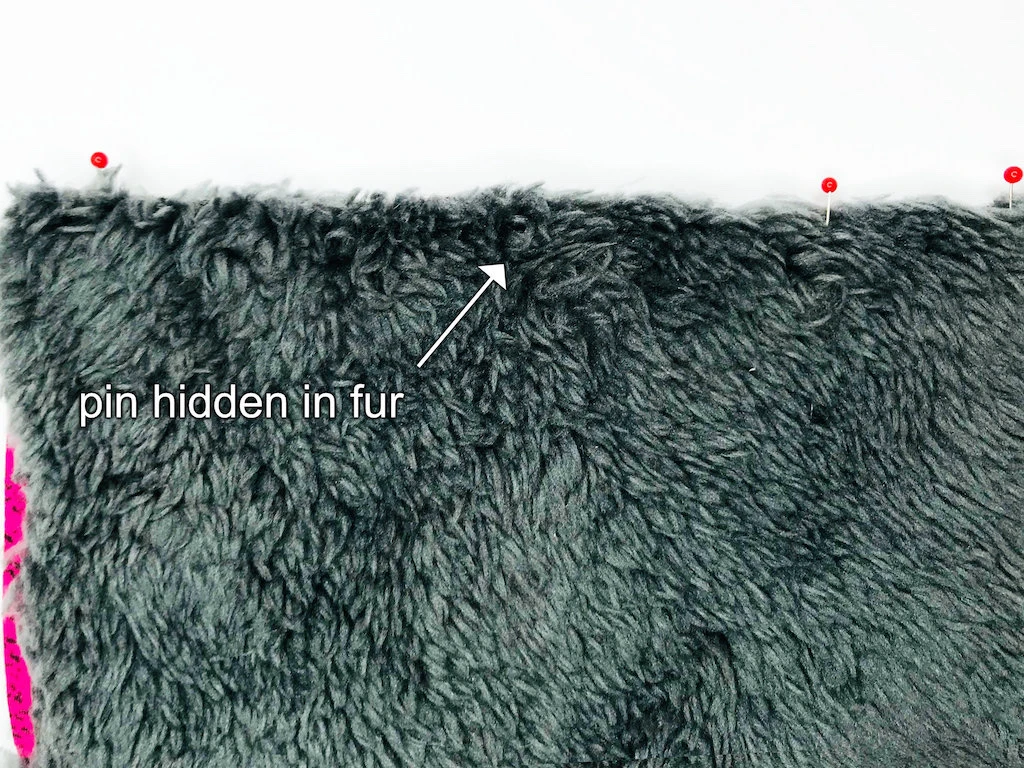
With furry fabric make sure, you do not push the pins towards the fabric too much because they may disappear in the fur (see the image below). The pins are there, they are just hidden among the grey hair.
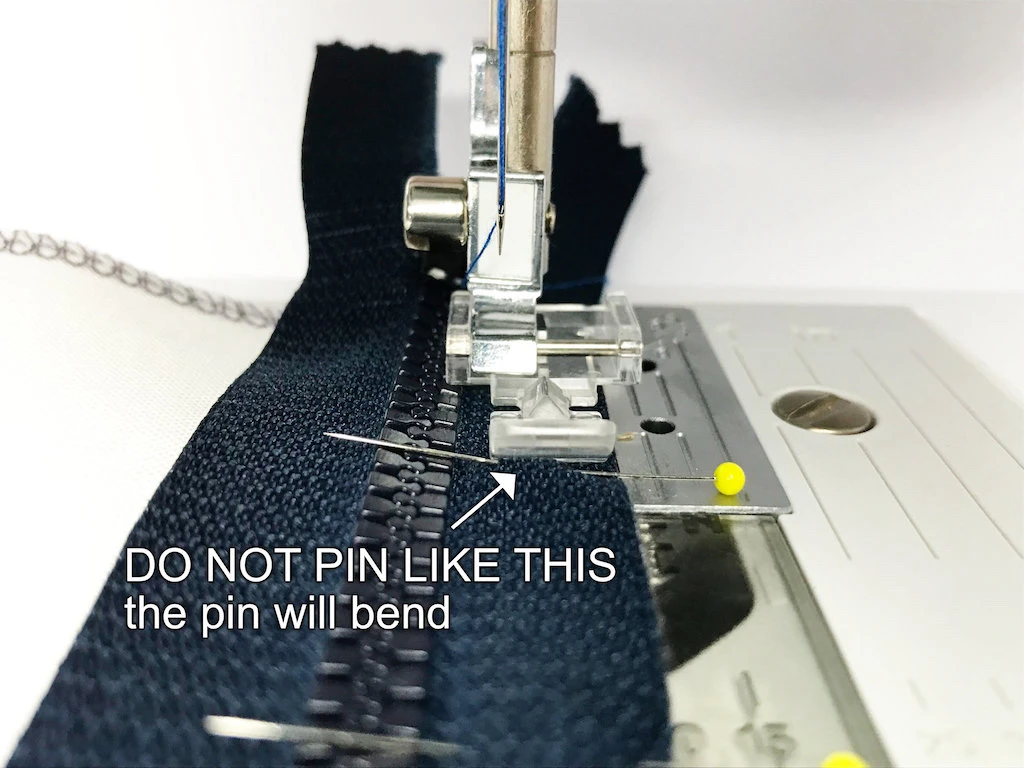
DO NOT use this type of pinning to pin a zipper. The thin pins will bend as they come close to the presser foot (see the image below).
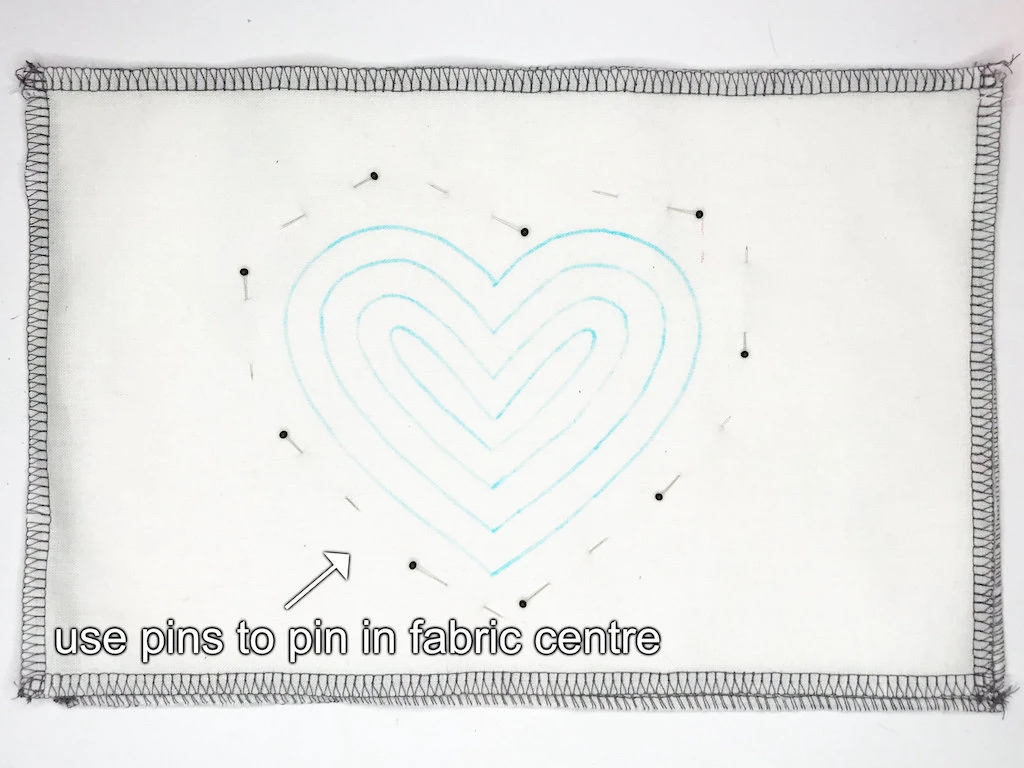
Pin with classic pins in the middle of fabric
Apart from basting, I am not aware of any other way to keep together two pieces of fabrics somewhere in their centre. Pins are an ideal to do this job (see the image below).
Pinning with Clover fork pins

Clover fork pins work amazingly for precise pinning with tricky pattern pieces and also with fabric that has been modified in some way. Let’s look at some examples:
Use fork pins for assembling pattern pieces with multiple seams
Assembling pattern pieces where multiple seams (usually four) meet. Typically, crotches and armholes to make the seams form a really nice cross (see the images below with scraps of fabric).
I do not take these pins out while sewing and sew right through them. This way the fabrics do not move and the result is terrific. The only thing you need to care about is that the seams are aligned accurately.


Use fork pins for sewing an elastic band
When sewing an elastic waistband, I pin these fork pins to the waistband and fabric instead of classic ones.
When you sew an elastic waistband, you have to stretch the elastic band. These pins hold it to the fabric really well and do not slip out even if you stretch the band as much as possible. Again, I sew directly through the fork pins.

Use fork pins for attaching gathered fabric
Pinning gathered fabric together with both fork and classic pins. Clover fork pins hold the base fabric and the gathered fabric perfectly in place. The classic pins in between are not vital, although I find them useful to achieve more precise results.

Use sewing clips instead of pins

Sewing clips come in various sizes. I have two different ones (see the images below). They are a good alternative if you do not want to use classic pins for some reason. For example, for sewing delicate or waterproof fabrics, in which you do not want to create any holes by pins even if they are really tiny.
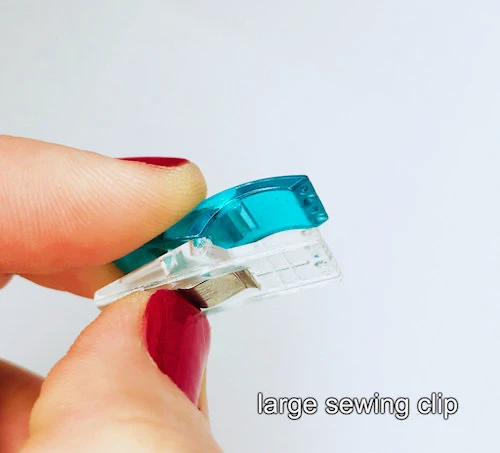

The bigger (blue) ones are great for heavier fabrics like Softshell and amazing for working with thick fabrics such as those with fur on their wrong side. With furry fabric, pins can easily get lost in the fur. It is just a matter of time and you will have to deal with it.

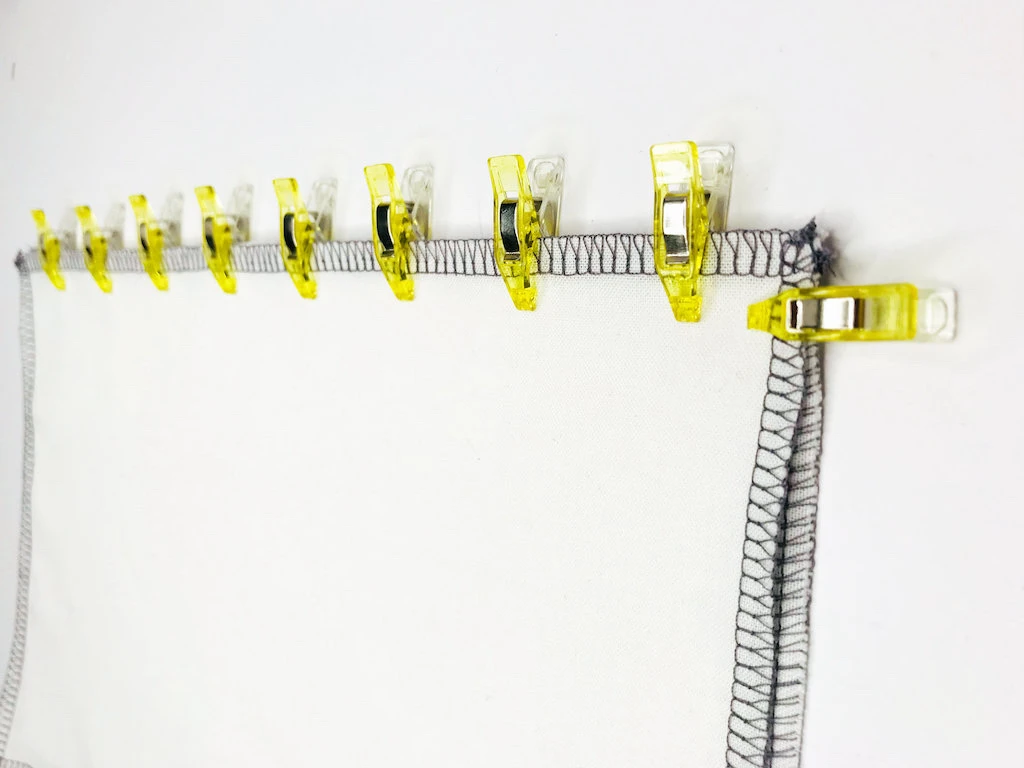
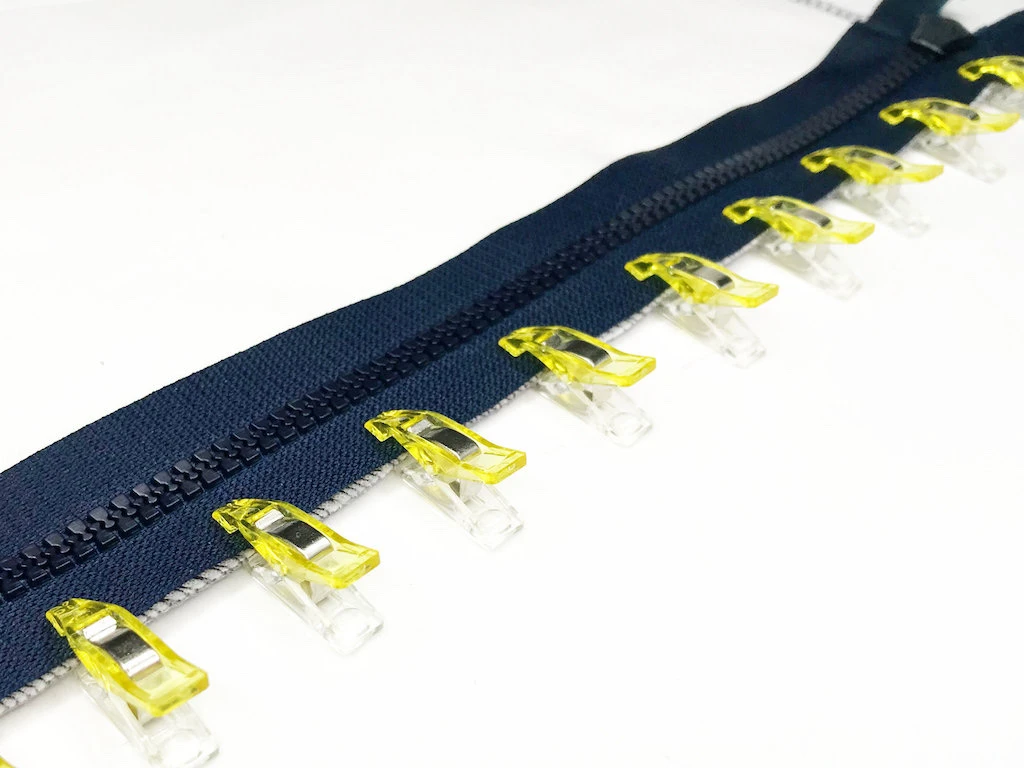
The small clips (yellow) are great for light to medium weight fabrics (see the image below). I would not recommend using them on fabrics like chiffon. Their weight might pull the fabric to the side and they would complicate feeding the fabric to the sewing machine.
You can also use clips instead of classic pins or basting to attach a zipper to a pattern piece before sewing (see the image below).
Wash-away Wonder tape
Using a wonder tape is not really a type of pinning, but it can substitute pinning in some cases reliably. The tape costs more than classic pins and is not reusable. Once you use it and sew over it, it stays there and disappears with the first wash of the garment.
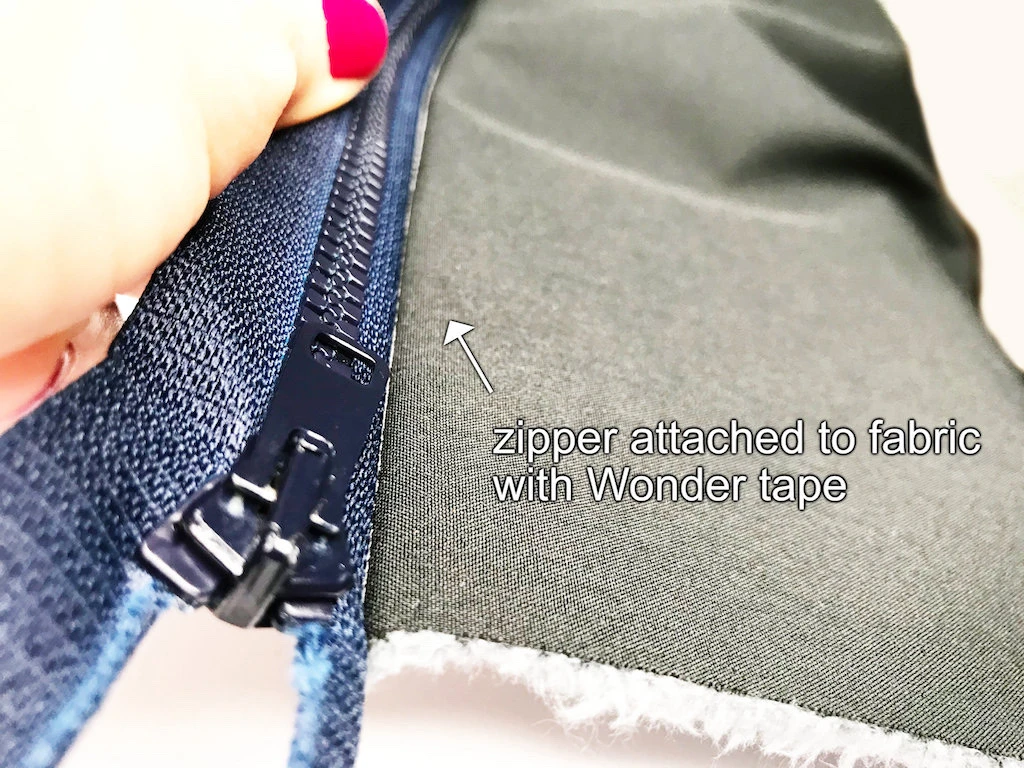
A good example of using a wonder tape is fixing a zipper. Especially for beginners, this is a nightmare while this tape makes it easier. After all, it is called a wonder tape. So, unroll a piece of tape and stick it to the fabric.

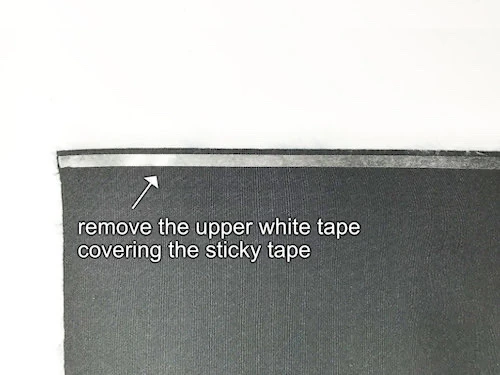
Then remove the white part of the tape and fix the zipper onto the sticky strip. As you can see in the image below, the tape glue holds the zipper really well. Now the zipper is ready to be sewn.
Conclusion: How To Pin Fabric
There is no right, wrong or the best way of pinning the fabric. Sometimes one is more suitable than another. Nevertheless, it is helpful to be aware of possibilities in this area. Careful pinning helps enormously with the accuracy that is substantial for any sewing project if you aim at quality.